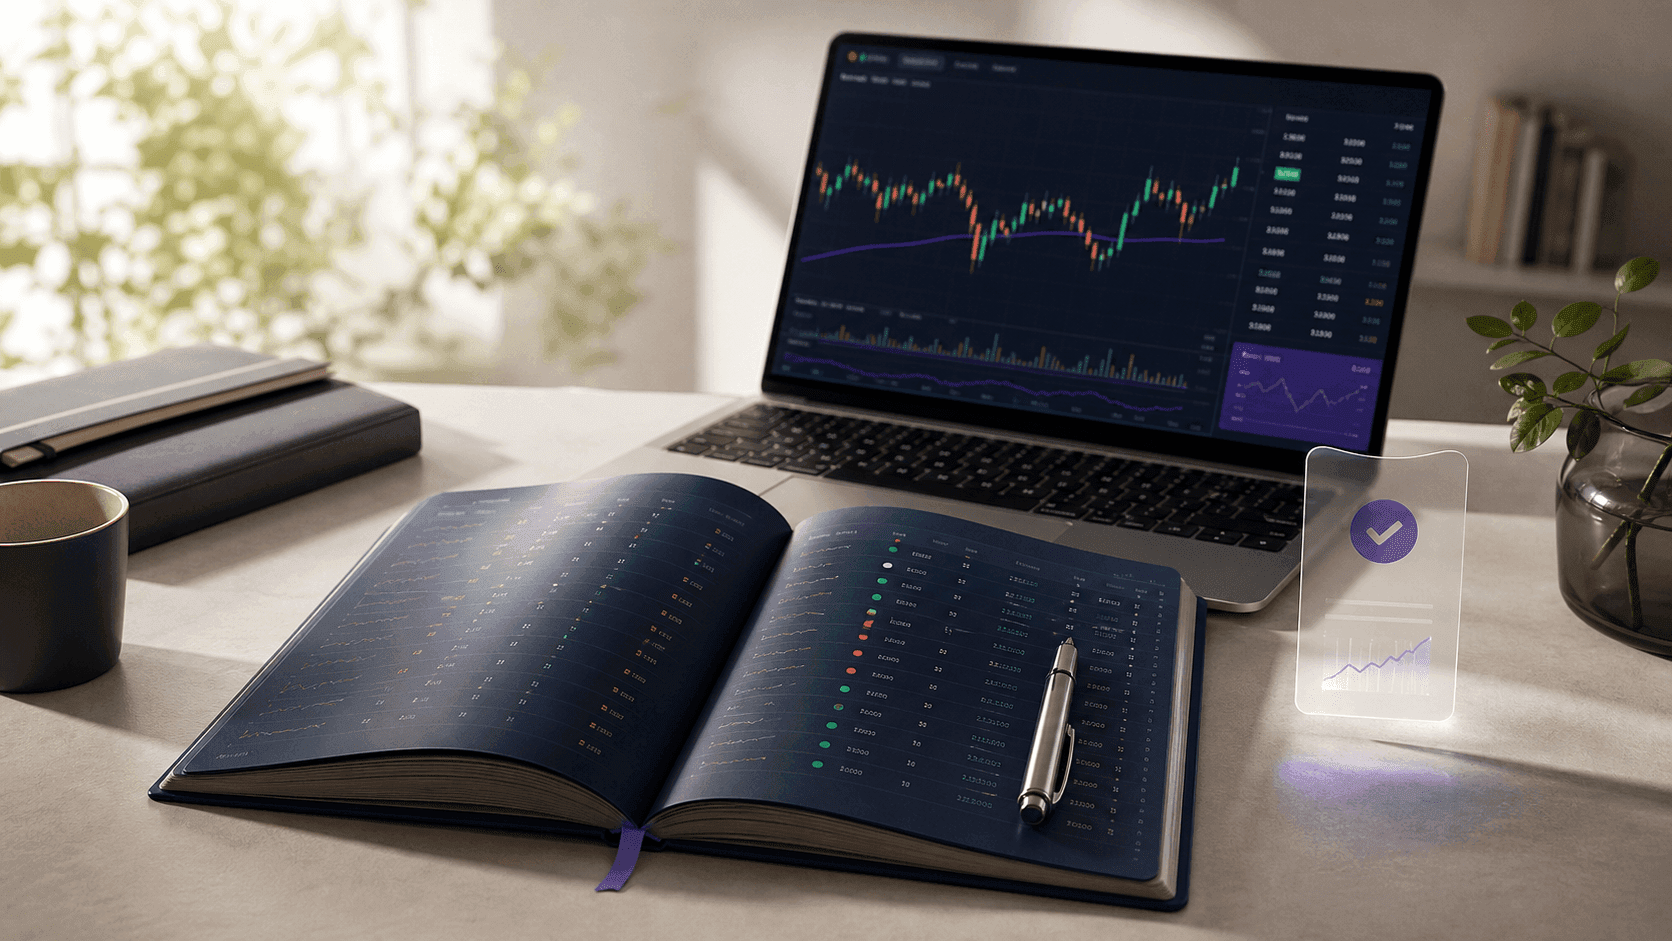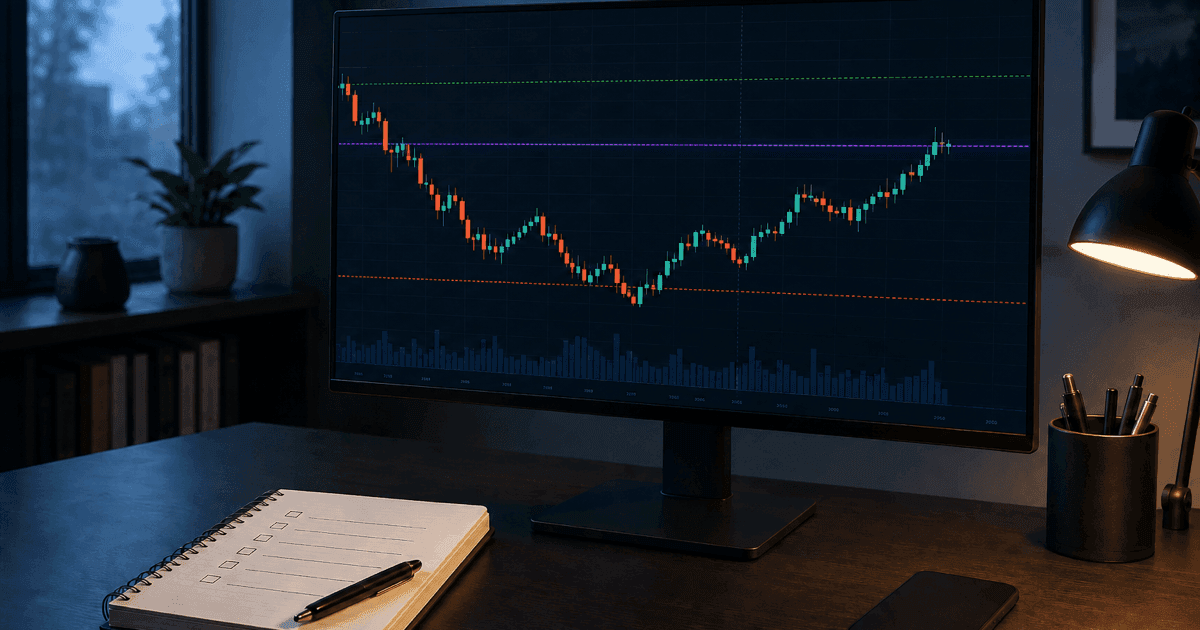
TradingView can show you almost everything: candles, indicators, screeners, news, alerts and other traders' ideas. That range is useful, but it creates a quiet problem. It is easy to spend an hour improving the chart and zero minutes defining the trade.
The fix is not another indicator. It is a handoff: the chart finds a possible setup; a written plan decides whether it deserves risk; the journal records what actually happened.
This guide builds that handoff as a repeatable 20-minute workflow. It works for discretionary stock, futures, forex or crypto traders, and it is deliberately strategy-neutral. You supply the setup rules. The workflow makes those rules visible before the outcome can rewrite your memory.
The rule: no order until you can write the entry trigger, invalidation level, target logic and account risk in one short note.
Step 1Build a decision chart, not a dashboard
Start with one TradingView layout for the strategy you actually trade. A layout can retain chart settings, indicators and drawings, so it is a better home for a repeatable process than rebuilding a chart for every symbol. TradingView's official layout guide also notes that layouts remember the last symbol and interval.
Keep this first version intentionally sparse:
- One execution timeframe on which your entry rule is unambiguous.
- One context timeframe only if the strategy genuinely uses it.
- Price and volume, plus no more than the indicators named in your written rules. If your rules read the order book rather than the candle — footprint, CVD, a liquidity heatmap — the same workflow applies on an order-flow platform such as Quantix, ATAS or TRDR.
- Visible event markers when earnings or another scheduled release can invalidate the setup.
- A consistent price scale. Switching between regular and logarithmic scales can change how a drawn trend appears, so analyze and execute on the same scale.
Name the layout after the decision it supports—such as “Daily pullback”—instead of a vague label like “Main.” If you use multiple strategies, give each its own layout. Otherwise drawings and indicators from one idea start lending false confidence to another.
One detail worth knowing: alerts and watchlists are not stored inside layouts. Treat the layout as the visual workspace, not as a backup of every TradingView object.
Step 2Turn the setup into a three-line chart
Before looking for confirmation, mark only three prices:
- 01Entry trigger: the price action that changes “interesting” into “actionable.”
- 02Invalidation: the price that proves your trade idea wrong—not the amount you happen to feel comfortable losing.
- 03Target or exit condition: the level or rule that explains where the expected reward comes from.
TradingView's Long Position and Short Position drawing tools are useful here because they place entry, stop and target on the same chart and calculate a risk/reward ratio. The official position-tool guide explains the account-size, risk, quantity and level inputs.
The drawing is a hypothesis, not an order. If you cannot point to a market reason for the stop, move on. Shrinking the stop only to manufacture a prettier reward-to-risk ratio makes the number cleaner and the idea weaker.
Step 3Do the risk math before the alert fires
Suppose a fictional stock setup has:
- entry at $102.50;
- stop at $100.80;
- target at $106.75;
- account size of $10,000;
- maximum planned account risk of 0.5%, or $50.
Risk per share is $102.50 − $100.80 = $1.70. The planned reward per share is $106.75 − $102.50 = $4.25, so the reward-to-risk ratio is $4.25 ÷ $1.70 = 2.5R.
Dividing the $50 risk budget by $1.70 gives 29.41 shares. If the instrument only allows whole shares, round down to 29 shares. The planned price risk is then $49.30 before fees, spread, slippage, gaps and taxes.
That last sentence matters. Position-sizing math limits the loss at the chosen stop if execution behaves as assumed. It cannot guarantee a fill at that price.
Run your own numbers through the Risk / Reward Calculator, which also calculates position size from account risk and stop distance. Save the inputs, not just the resulting share count. A position size without its stop and risk budget is impossible to audit later.
Step 4Make the alert a miniature trade ticket
Now create the alert. TradingView supports alerts on price, data series, indicators, strategies and certain drawing objects. Its alert setup guide covers trigger conditions, frequency, expiration and delivery options.
The most useful field is often the message. Write it for your future self at the moment when urgency is highest:
Setup: Daily pullback | Trigger: close above 102.50 | Stop idea: 100.80 | Max risk: $50 | Before entry: check spread, event risk and checklist.
This does three jobs. It restores context, prevents the alert from becoming an automatic buy signal, and makes the original plan easy to copy into the journal.
Choose the alert frequency to match the rule. If the setup requires a completed candle, a bar-close trigger is different from an intrabar touch. And if you change an indicator's parameters later, recreate the alert: TradingView says an existing alert continues to use the settings it had when it was created.
Once the alert is active, close the chart. The goal is to let the market call you back when your condition exists, not to watch every tick until you invent a reason to trade.
Step 5Use a 60-second gate when the alert fires
An alert means “review,” not “enter.” Before placing an order, answer six yes-or-no questions:
- Is this the exact symbol and timeframe in the plan?
- Has the trigger completed in the way the rule requires?
- Is the invalidation level still technically valid?
- Has spread, volatility or a gap changed the real risk?
- Is there scheduled news or an earnings release inside the holding window?
- Does this trade fit today's total risk limit and any correlated open positions?
One “no” is enough to pass. Record the rejected setup too, with a one-line reason. Good non-trades are part of the dataset; otherwise the journal only sees decisions that reached the order button.
If all six answers are yes, copy the plan into the Trading Journal before execution. Add the TradingView chart screenshot, setup tag, intended entry, stop, target, size and planned risk. The journal accepts a chart screenshot and can extract the visible trade fields to speed up the handoff, but you should still verify every number before saving. If that handoff is too slow for your trade volume, the trading journal app comparison separates broker-sync tools from screenshot, CSV and manual workflows.
Step 6Separate execution facts from the story
After the trade, update facts first:
- actual entry and exit;
- quantity and fees;
- realized profit or loss;
- whether the planned stop or exit rule changed;
- maximum favorable or adverse movement if you track it.
Then add interpretation in two short fields:
Process grade: Did I follow the written plan?
One lesson: What single behavior or assumption should I repeat, test or stop?
Do not grade a winning rule-break as “good.” Do not grade a well-executed planned loss as “bad.” Outcome and execution quality answer different questions, and combining them trains the wrong behavior.
Step 7Practice the handoff with Bar Replay
TradingView's Bar Replay can simulate historical price unfolding one bar at a time. In Replay Trading you can configure starting capital, currency and commission, then place simulated orders. The official Replay Trading guide says session trades and results are available within that session; performance and trade lists can be exported for further analysis.
Use replay to practice the workflow, not to hunt until a chart makes the strategy look brilliant:
- Choose the market, timeframe and historical starting point before revealing the next bars.
- Mark entry, invalidation and target.
- Calculate risk and write the pre-trade note.
- Advance one bar at a time and take or reject the setup by the same rules used live.
- Log the result and one screenshot in the journal.
Run a fixed sample—20 occurrences is more informative than three—and include skipped setups. Replay is still a simulation: it can teach rule recognition and expose ambiguous definitions, but it does not reproduce every live fill, spread change or emotional response. The same is true of the live Paper Trading account — our TradingView paper trading guide sets it up like a funded account and puts numbers on what it leaves out.
Weekly reviewA weekly review that takes ten minutes
At the end of the week, filter the journal by one setup and ask:
- How many alerts became valid setups?
- How many valid setups did I take, skip or chase late?
- Was planned risk consistent across trades?
- Which rule was broken most often?
- Did the setup's average result and expectancy improve or deteriorate?
Change only one thing for the next sample. Adding two indicators, changing the stop and switching timeframe at once destroys the comparison. The purpose of a journal is not to produce a diary; it is to preserve enough structure to make the next decision slightly better.
SetupStart with a clean TradingView workspace
CalculatorAI is an official TradingView partner. If you want to build this workflow in TradingView, open TradingView through our partner offer. Eligible new users can receive a $15 credit toward their plan.
TradingView provides the charting, alerts and replay environment. CalculatorAI's Trading Journal preserves the plan, execution and review as your own record. They work best as two separate jobs connected by the same checklist.
Two companion guides finish the loop: position sizing decides how much a plan is allowed to risk, and what a normal drawdown looks like is what to read before concluding, in a bad week, that the workflow stopped working.
FAQFrequently asked questions
How many indicators should I use on TradingView?
Use only the indicators that have a defined job in your setup rules. There is no universally correct number. If removing an indicator would not change entry, invalidation, exit or risk, it is probably decoration.
Should a TradingView alert place the trade automatically?
This workflow treats an alert as a prompt to review, not an instruction to enter. Automation introduces additional technical and financial risk. Test any automated process separately and understand exactly what can trigger an order.
Is Bar Replay the same as live trading?
No. It is useful for practicing rule recognition on historical data, but it cannot fully reproduce live liquidity, fills, slippage or emotion. Treat replay results as research, not a promise of future performance.
What should I save from a TradingView chart?
Save a screenshot showing the symbol, timeframe, entry, invalidation and target, plus a written reason for the trade. After exit, add the actual execution and one lesson. A beautiful chart without the decision context is hard to review.
Do I need a paid TradingView plan for this workflow?
The workflow itself is plan-agnostic. Feature limits can vary by subscription, so check TradingView's current plan comparison for the alerts, layouts and replay access you need before upgrading.
Educational information only, not personalized investment advice. Trading involves risk, and no chart, alert or journal can guarantee a result.